Making your own anti-bug balm is similar to creating a herbal salve and can be done easily with ingredients from your kitchen or garden.
When making a salve or balm, it’s ideal to use dried herbs since fresh ones may cause the mixture to spoil more quickly. If you’re harvesting from your garden, simply hang your herbs in bundles to dry, storing them in a cool, dark place like a garage until they become dry and crumbly.
For this recipe from The Lost Herbs, you’ll need lemon balm, peppermint, catnip, and lavender, but feel free to swap in other herbs from the list below. You can also use different carrier oils, such as sweet almond oil, based on your personal preference.
DIY Anti-Bug Balm – Nicole Apppleton
1 tsp Dried Lemon Balm
1 tsp Dried Catnip
1 tsp Dried Lavender
1 tsp Dried Peppermint
1 oz Beeswax (use carnauba wax instead of beeswax for a vegan salve)
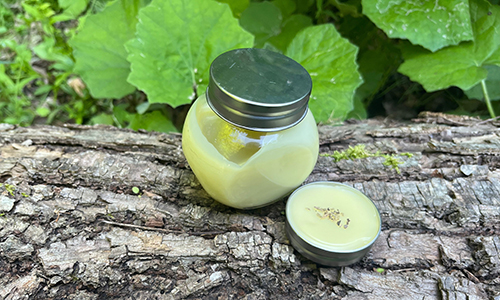
4 oz Carrier Oil ( pictured is 3oz coconut oil and 1oz extra virgin olive oil)
Cheesecloth or a strainer
2 glass jars
A container for your bug balm
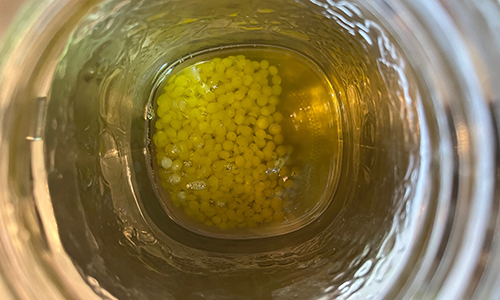
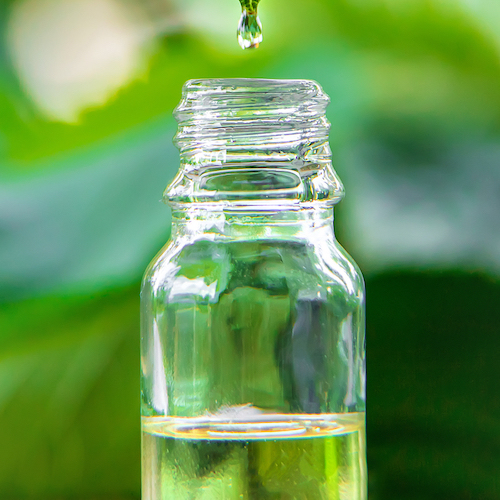
Make your herb-infused oil
First, combine oil and herbs in a jar and stir to ensure they are covered.
Slow-Infusion (Cold Infusion)
Leave your sealed jar in a cool, dark, dry place for 1-2 weeks to infuse.
Heat Method
Ideally, you will want to use the cold infusion method, but if you are in a pinch and need your anti-bug balm quickly, you can use the heat infusion method.
Fill a pot with enough water to submerge approximately half of your jar.
Place your jar in the middle of the pot. Do not seal your jar with the lid.
Simmer on low heat for approximately 2-4 hours. You will want to check on your pot regularly and add warm water if some evaporates. Do not let the water fully evaporate.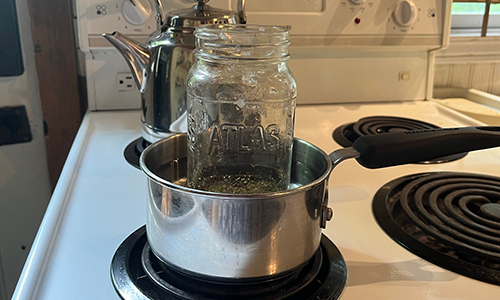
Remove from heat and allow the jar to sit in the warm bath until the water and infused oil have cooled.
Straining

Using your cheesecloth or a strainer, pour your infusion into the second glass jar. If you used heat for infusion, make sure your infused oil has fully cooled before straining.
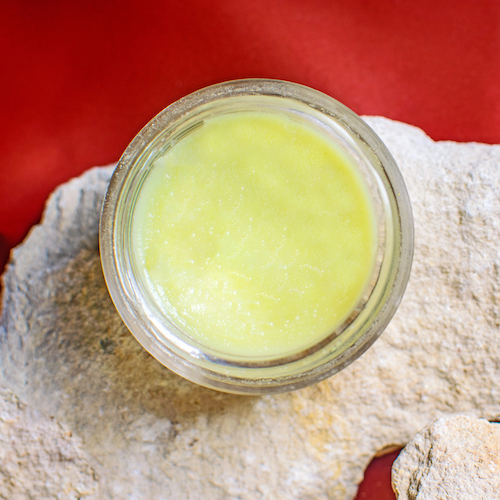
Making your anti-bug balm
Now that your infused oil is ready, you can start making your anti-bug balm.
If you want to increase the efficacy of your bug balm, you can also add 3-5 drops of essential oils such as Peppermint or Spearmint, citronella, yarrow, lemongrass and lavender. I’m using this Yarrow Tincture because it helped me in managing rashes, minor skin infections, wounds, and itching. It’s non-GMO so my skin is thriving.
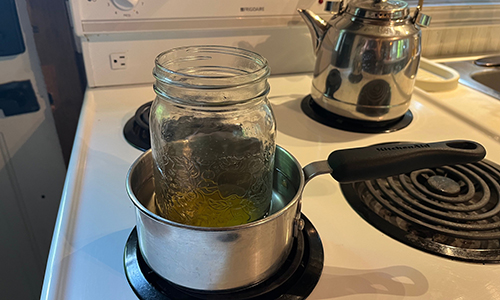
- Place a jar with your infused oil and beeswax together into a pot with simmering water on low heat.
- Allow the beeswax to completely dissolve in the oil. Add essential oil drops if desired.
- Carefully pour the mixture into your bug balm jar and let it sit until the balm solidifies.

- Let it fully harden before adding a lid to your container.
TIP: The consistency of your bug balm can be adjusted to your preference. Use less beeswax for a softer balm and more if you would prefer a firmer balm. You can test the consistency by removing a teaspoon from the jar and placing it in the freezer for a few minutes. This will give you an idea of the final consistency.
Before using your anti-bug balm, apply a small test patch to the skin. Apply to wrists, ankles etc. Store in a cool place out of the sun for a couple of years.
For more information click here to be taken to The Lost Herbs site.

About The Author: Triona Backup
More posts by Triona Backup