Spring is Here, Get Planting!
Posted on September 29 2024
How good is this spring weather! I love seeing all the plants blossoming at this time of year, signalling that more warm sunny days are on the way.
If you've never grown plants from seeds and are keen to have a go, or if you've attempted it before but your seedlings didn't survive the transition to your garden, then check out these great tips for growing healthy and robust seedlings from the expert team at The Crafty Gatherer.
From the Crafty Gatherer ...
I feel the season is changing as the pace gets a bit busier and we change up a gear to get ready for Spring; that magical time when everything seems to come to life again! So now is the perfect time to be planting your seeds so they are ready to plant out when the weather is a bit warmer. Not only is growing your own seeds satisfying, you save money and are a part of that wonderful process of growing your own food. And the best part is - everyone can do it! No matter the size of your garden or pots, this magical process of growing your own food is available to all!
Below is a few tips on growing healthy seedlings. If all of this is completely new to you - great! We have had good success with seeds from Love Plant Life and Sethas Seed. We use our Crafty Gatherer seed raising trays made from untreated macracarpa wood that can be used year after year, you could also use old punnets or even egg cartons.
Please note: not all seeds need to be raised in seed trays, e.g. carrots, peas, beans, corn - these can be sown directly into the garden.
Tips on Growing Healthy Seedlings
1. Place newspaper at the bottom of your seedling trays.
2. Use an organic seed raising mix OR make your own (other mixes contain fungicides that will kill beneficial microorganisms needed to grow high quality plants). Place the mix in the trays leaving about 1cm from the top.
3. Select your seeds, plant similar sizes in the same tray, and make sure you are planting them at the correct time for germination.
4. Cover the seeds with the same soil depth as seeds are deep and label your seeds. Use old ice-block sticks, strips of plastic or whatever you have around - just be sure to use a waterproof pen!
5. Sprinkle your seeds with water as needed to keep them moist - don't drown them! Make sure they are in full sun out of the rain and wind.
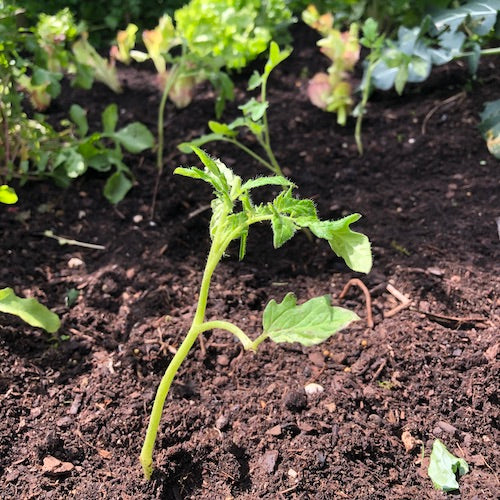
6. When the first two leaves appear on your seedlings, they will still be too delicate to be planted out in the garden. However, if seedlings are allowed to continue growing close together their roots can become entangled. So you can transplant them to another tray or punnet (using the same soil mix as for the seed) to continue to grow for a few more weeks. This will also help the seedlings with their shock before being planted out in the garden.
7. You will then need to harden off the seedlings in similar conditions as they will be in the garden. When you are ready to transplant handle the seeds very carefully. Plant them so the leaves are just above the soil and the stem is completely buried.


